No-Bake Chocolate Peanut Butter Oat Bars
Picture this: you’re craving something sweet, salty, and oh-so-satisfying, but the thought of baking feels like a Herculean task.
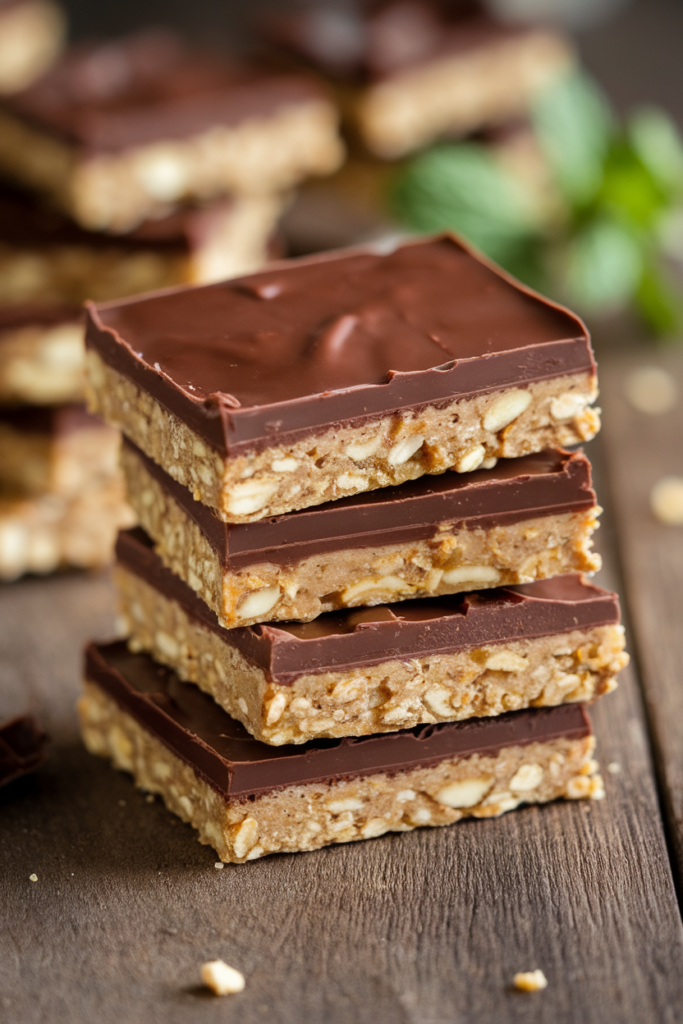
Enter these No-Bake Chocolate Peanut Butter Oat Bars—a glorious mashup of creamy peanut butter, rich chocolate, and hearty oats that come together in a snap.
I’ve been making these beauties since my college days when I needed a quick pick-me-up between study sessions (and maybe a few too many coffee runs).
They’re my go-to for a fuss-free dessert that tastes like you spent hours in the kitchen—spoiler alert: you didn’t!
How to Make It
Note: This is an overview. See recipe card below this post for ingredient quantities and full instructions.
Melt the Good Stuff
Start by melting some butter and peanut butter together until they’re a smooth, dreamy duo. Stir in a bit of sweetness and a pinch of salt to wake up those flavors—it’s like giving your taste buds a warm hug.
Mix in the Oats
Toss in those hearty oats and give everything a good stir until it’s all coated and sticking together like the best of friends. This is where the magic starts to happen—those oats soak up all that peanut buttery goodness and get ready to hold everything together.
Press It Down
Spread that oat mixture into a lined pan and press it down firmly with your hands or a spatula. You want it nice and compact so every bite holds together—no crumbly messes here, just pure bar perfection.
Top with Chocolate
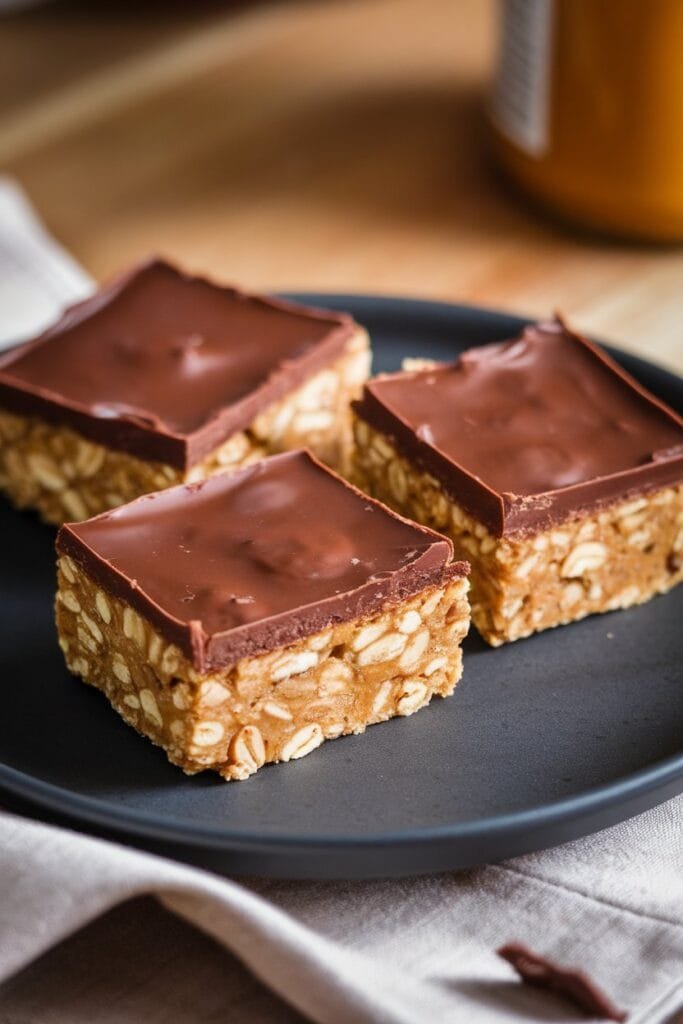
Melt some chocolate until it’s silky smooth, then pour it over the oat base like a luscious blanket. Spread it out evenly, and if you’re feeling fancy, give it a little swirl with a spoon for that bakery-worthy look.
Chill and Slice
Pop the pan in the fridge and let it chill until the chocolate sets—trust me, this is the hardest part because your kitchen will smell amazing. Once it’s firm, slice it into bars, and get ready to devour!
Pro Tips
- Use a spatula to press the oats: It’s less sticky than your hands and gives you an even layer every time.
- Go for creamy peanut butter: It melts smoother and blends better—save the crunchy stuff for your toast!
- Line your pan: Parchment paper is your BFF here; it makes lifting the bars out a breeze.
- Chill longer for cleaner cuts: An extra 30 minutes in the fridge makes slicing a dream—no jagged edges!
- Double the batch: These disappear fast, so make extra and stash some in the freezer for emergencies (you know, like Monday nights).
Storage
- Room Temp: Keep them in an airtight container for up to 3 days—if they last that long!
- Fridge: Store in the fridge for up to 2 weeks; they stay firm and delicious.
- Freezer: Wrap individually and freeze for up to 3 months; thaw for a few minutes before digging in.
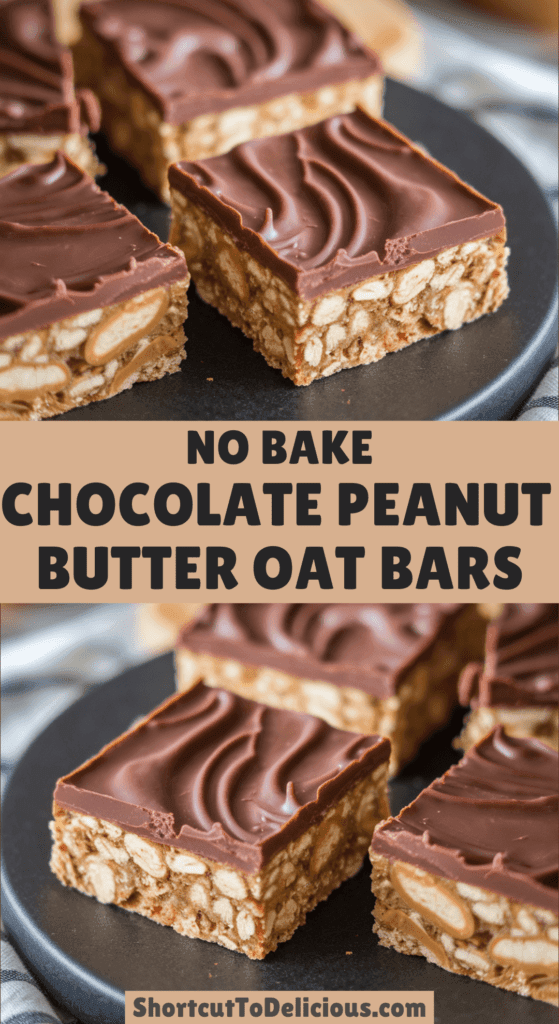

No-Bake Chocolate Peanut Butter Oat Bars
Description
These No-Bake Chocolate Peanut Butter Oat Bars are a heavenly combo of creamy peanut butter, rich chocolate, and chewy oats. Perfect for a quick dessert or snack, they come together in minutes and require zero oven time—just mix, chill, and enjoy!
Ingredients
Instructions
-
Prep the Pan:
Line an 8x8-inch square pan with parchment paper, leaving some overhang for easy removal later.
-
Melt the Base:
In a medium saucepan over low heat, melt the butter and peanut butter together, stirring until smooth and fully combined.
-
Sweeten It Up:
Stir in the honey and salt until everything’s blended—give it a quick taste (chef’s privilege!).
-
Add the Oats:
Remove from heat and mix in the rolled oats, stirring until they’re evenly coated with the peanut butter mixture.
-
Press into Pan:
Transfer the mixture to the lined pan and press it down firmly with a spatula into an even layer.
-
Melt the Chocolate:
In a microwave-safe bowl, combine the chocolate chips and coconut oil (if using). Microwave in 20-second bursts, stirring between each, until fully melted and glossy.
-
Top It Off:
Pour the melted chocolate over the oat layer and spread it evenly with a spoon or spatula.
-
Chill Time:
Refrigerate the pan for at least 1 hour, or until the chocolate is set and firm.
-
Slice and Serve:
Lift the bars out using the parchment overhang, place on a cutting board, and slice into 8 even bars. Enjoy!
Nutrition Facts
Servings 8
- Amount Per Serving
- Calories 250kcal
- % Daily Value *
- Total Fat 18g28%
- Total Carbohydrate 22g8%
- Dietary Fiber 3g12%
- Sugars 13g
- Protein 5g10%
* Percent Daily Values are based on a 2,000 calorie diet. Your daily value may be higher or lower depending on your calorie needs.
Note
- Swap it out: Use maple syrup instead of honey for a different vibe.
- Chocolate choice: Dark chocolate works great if you want a less sweet finish.
These values are approximate and may vary depending on the specific ingredients and brands used. Always check your ingredient labels for precise nutrition details.