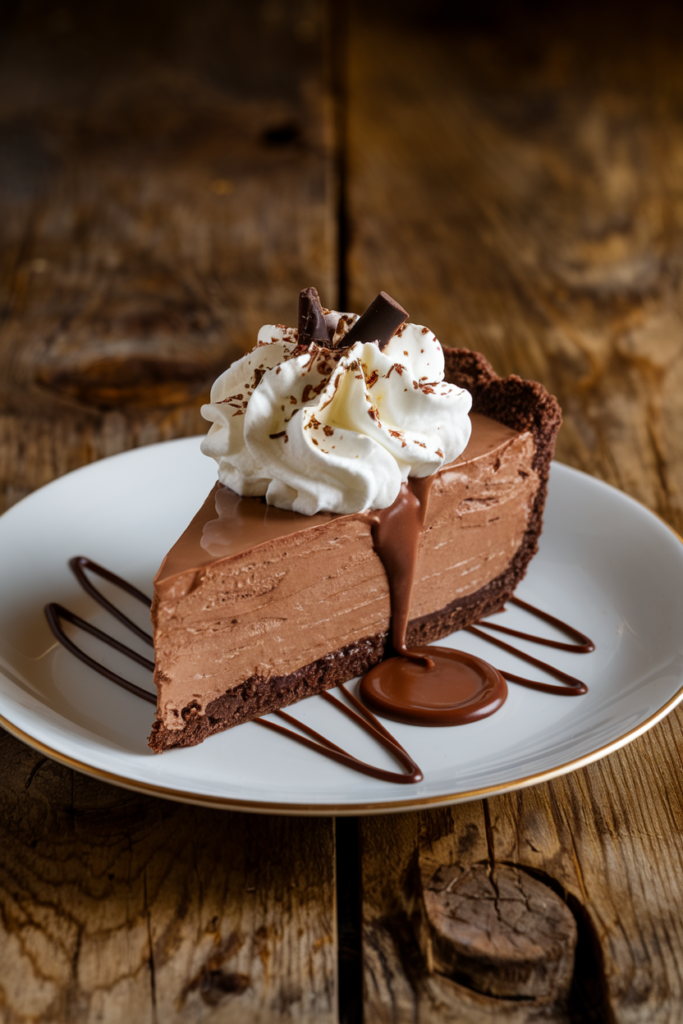
No-Bake Chocolate Silk Pie
Hey there, friend! If you’re looking for a dessert that’s as easy as it is indulgent, you’ve come to the right place.
This Decadent No-Bake Chocolate Silk Pie is pure magic—creamy, rich, and oh-so-chocolaty, with a velvety texture that melts in your mouth.
It’s the kind of dessert that feels fancy but is secretly a breeze to make. Perfect for impressing guests or treating yourself after a long day.
How to Make It
Note: This is an overview. See recipe card below this post for ingredient quantities and full instructions.
1. Prep the Crust
Start by crushing your cookies (or graham crackers) into fine crumbs. Mix them with melted butter until they’re well combined, then press the mixture firmly into a pie dish. Pop it in the fridge to set while you work on the filling.
2. Make the Chocolate Filling
In a large mixing bowl, beat the cream cheese until it’s smooth and creamy. Gradually add the powdered sugar, cocoa powder, and vanilla extract, mixing until everything is well combined. This is where the chocolatey magic happens!
3. Whip the Cream
In a separate bowl, whip the heavy cream until stiff peaks form. Be careful not to overmix—you want it light and fluffy. Gently fold the whipped cream into the chocolate mixture until it’s smooth and airy.
4. Assemble the Pie
Pour the chocolate filling into the chilled crust, spreading it evenly with a spatula. Smooth the top for a polished look, then refrigerate the pie for at least 4 hours (or overnight) to let it set.
Pro Tips
- Use high-quality cocoa powder for the richest chocolate flavor.
- Chill your mixing bowl and beaters before whipping the cream—it helps the cream whip up faster and hold its shape.
- For a nutty twist, add a handful of finely chopped toasted hazelnuts to the crust.
- Don’t skip the chilling time—this pie needs time to set properly for that perfect silky texture.
Storage
- Store the pie in the refrigerator, covered with plastic wrap or in an airtight container, for up to 3 days.
- This pie doesn’t freeze well due to the whipped cream, so it’s best enjoyed fresh!
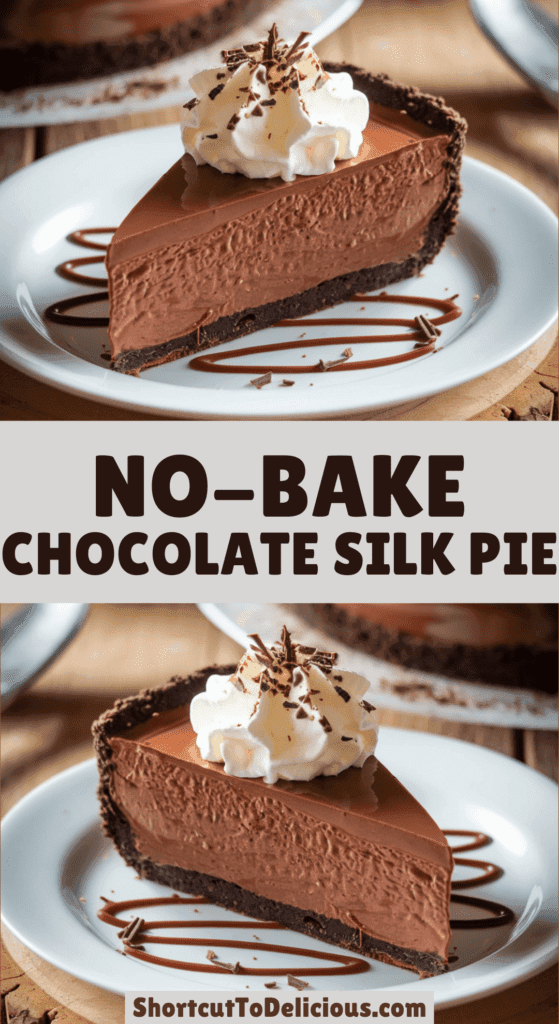
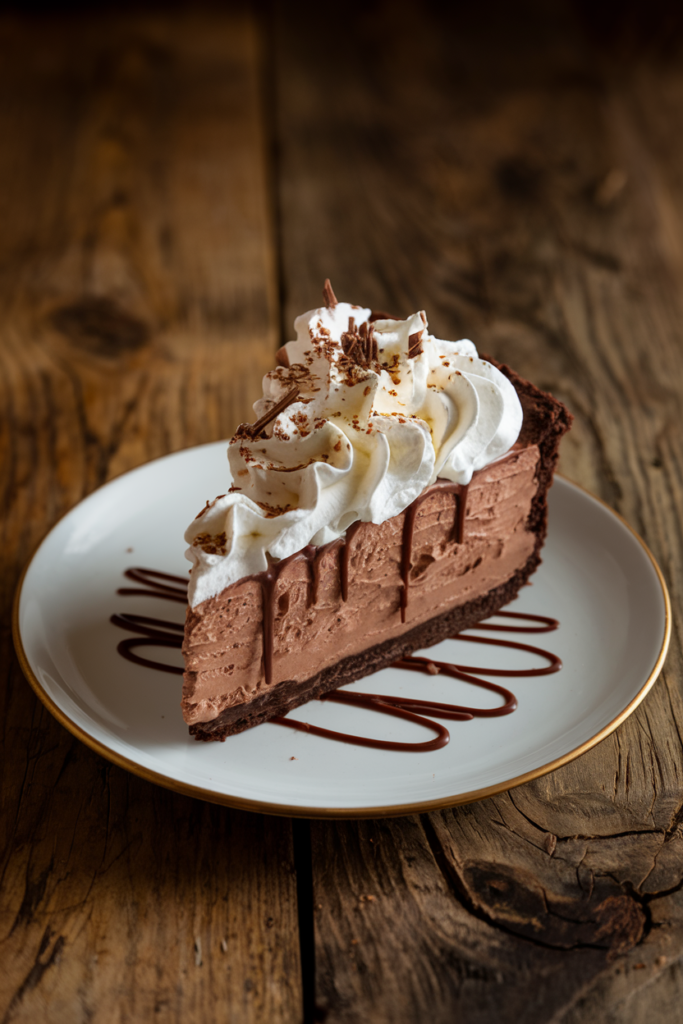

No-Bake Chocolate Silk Pie
Description
This Decadent No-Bake Chocolate Silk Pie is a dreamy dessert with a buttery cookie crust and a creamy, chocolate filling that’s light yet indulgent. Perfect for any occasion!
Ingredients
Instructions
-
In a medium bowl, combine the chocolate cookie crumbs and melted butter. Mix until the crumbs are evenly coated, then press the mixture firmly into the bottom and sides of a 9-inch pie dish. Chill in the refrigerator for 15 minutes to set.
-
In a large mixing bowl, beat the softened cream cheese until smooth and creamy. Gradually add the powdered sugar, cocoa powder, and vanilla extract, mixing until fully combined and no lumps remain.
-
In a separate bowl, whip the heavy cream until stiff peaks form. Be careful not to overmix.
-
Gently fold the whipped cream into the chocolate mixture until smooth and evenly combined.
-
Pour the filling into the chilled crust, spreading it evenly with a spatula. Smooth the top for a polished finish.
-
Refrigerate the pie for at least 4 hours, or overnight, to allow it to set completely.
Nutrition Facts
Servings 8
- Amount Per Serving
- Calories 350kcal
- % Daily Value *
- Total Fat 25g39%
- Total Carbohydrate 30g10%
- Sugars 20g
- Protein 4g8%
* Percent Daily Values are based on a 2,000 calorie diet. Your daily value may be higher or lower depending on your calorie needs.