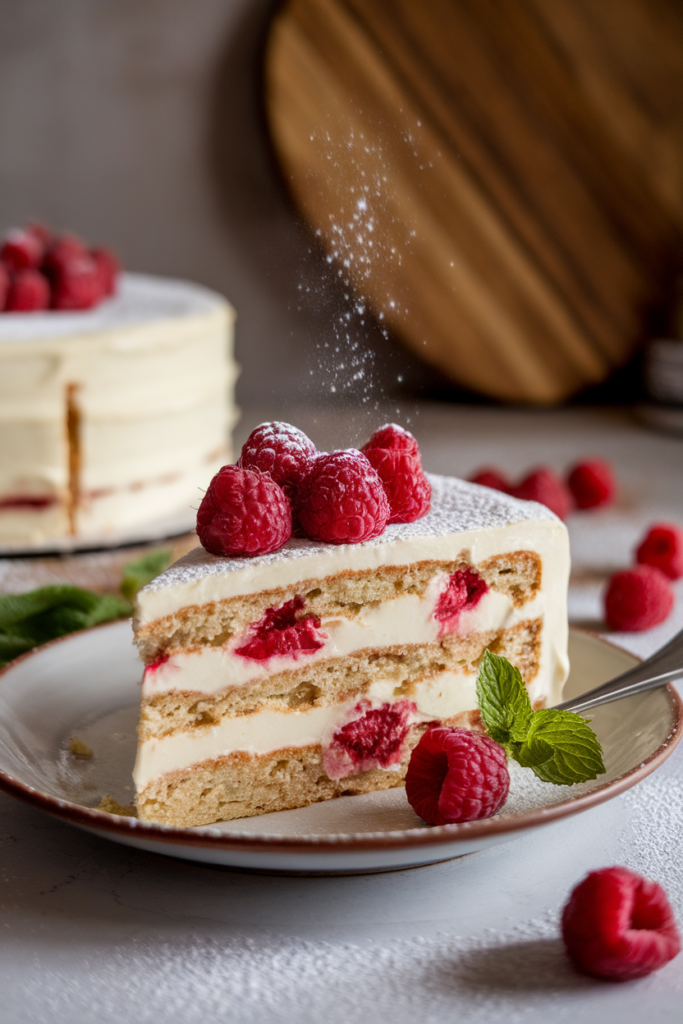
Raspberry White Chocolate Truffle Cake
Hey there, friend! If you’re looking for a dessert that’s equal parts luxurious and easy to make, you’ve come to the right place.
This Raspberry White Chocolate Truffle Cake is a showstopper that’ll have everyone thinking you spent hours in the kitchen.
But here’s the secret: it’s surprisingly simple to whip up!
With a velvety white chocolate ganache, bursts of fresh raspberries, and a moist cake base, this dessert is pure indulgence.
Perfect for celebrations, date nights, or just treating yourself after a long day.
Let’s dive in and make some magic!
How to Make It
Note: This is an overview. See recipe card below this post for ingredient quantities and full instructions.
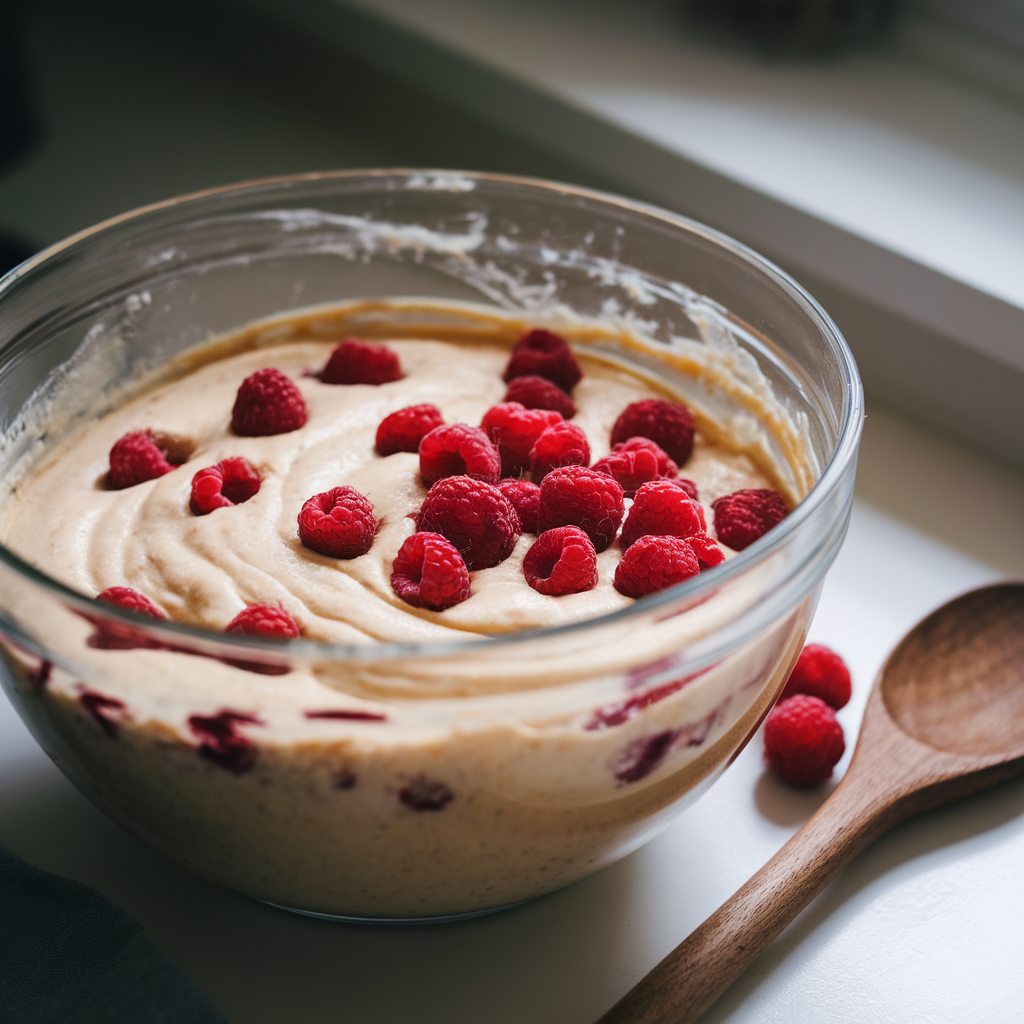
1. Prepare the Cake Batter
Begin by preheating your oven to 350°F (175°C) and greasing an 8-inch round cake pan. Line the bottom with parchment paper for easy removal later. In a medium bowl, whisk together the dry ingredients: flour, baking powder, and salt. In a separate large bowl, cream the softened butter and sugar together until light and fluffy—this should take about 2-3 minutes with a hand mixer or stand mixer. Add the eggs one at a time, mixing well after each addition, then stir in the vanilla extract. Gradually alternate adding the dry ingredients and milk to the butter mixture, mixing just until combined. Be careful not to overmix! Finally, gently fold in the fresh raspberries, making sure they’re evenly distributed throughout the batter.
2. Bake the Cake
Pour the batter into the prepared cake pan, spreading it evenly with a spatula. Tap the pan lightly on the counter to remove any air bubbles. Bake in the preheated oven for 25-30 minutes, or until the top is golden and a toothpick inserted into the center comes out clean. Keep an eye on it during the last few minutes to avoid overbaking. Once done, let the cake cool in the pan for 10 minutes, then transfer it to a wire rack to cool completely.
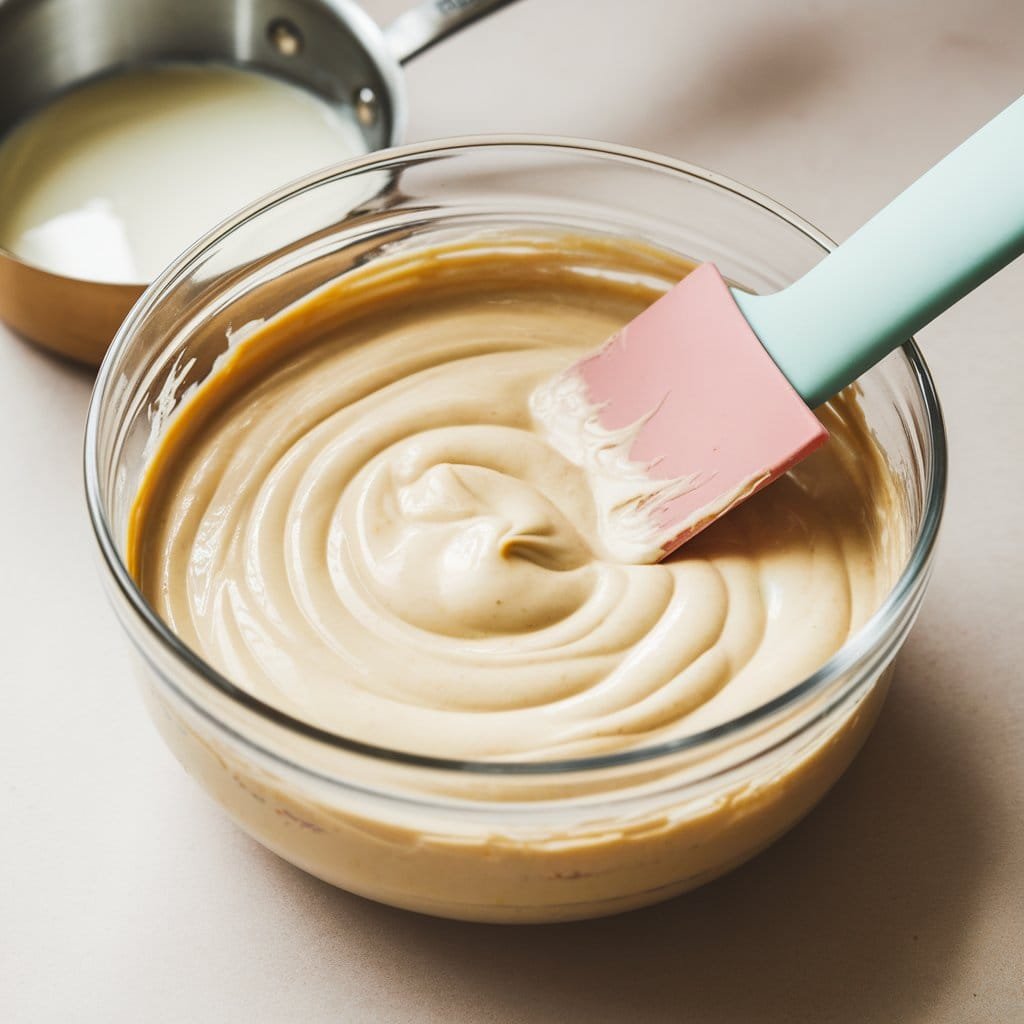
3. Make the White Chocolate Ganache
While the cake cools, prepare the ganache. Chop the white chocolate into small, even pieces and place them in a heatproof bowl. In a small saucepan, heat the heavy cream over medium heat until it just begins to simmer—don’t let it boil! Pour the hot cream over the chopped chocolate and let it sit for 1-2 minutes to melt the chocolate. Then, gently stir with a silicone spatula until the mixture is smooth, glossy, and fully combined. If there are any stubborn bits of chocolate, you can microwave the mixture in 10-second intervals, stirring in between, until completely smooth. Let the ganache cool at room temperature for about 15-20 minutes, or until it thickens to a spreadable consistency.
4. Assemble the Cake
Once the cake has cooled completely, use a serrated knife (a bread knife works well for this) to slice it horizontally into two to four even layers, depending on how tall and luxurious you want your cake to be. Place the bottom layer on a cake stand or serving plate. Spread a generous amount of the thickened ganache over the first layer, using an offset spatula to create an even coating. If you’re adding more layers, repeat this process, stacking each layer and spreading ganache in between. For the top layer, spread the remaining ganache over the surface and let it drip slightly down the sides for that irresistible, rustic look. Don’t stress about perfection—the charm is in the delicious, decadent layers!
5. Garnish and Chill
Top the cake with fresh raspberries, arranging them in a pretty pattern. For a finishing touch, dust the top lightly with powdered sugar using a fine-mesh sieve. Place the cake in the refrigerator to chill for at least 1 hour. This helps the ganache set and makes the cake easier to slice.

6. Serve and Enjoy
When you’re ready to serve, remove the cake from the fridge and let it sit at room temperature for 10-15 minutes to soften slightly. Use a sharp knife to slice it into even portions, wiping the blade clean between cuts for neat slices. Serve with a smile and watch as your guests (or just you!) dive into this dreamy dessert.
Pro Tips
- Use high-quality white chocolate for the ganache—it makes all the difference!
- If your raspberries are too tart, toss them in a little sugar before folding them into the batter.
- For a smoother ganache, let it cool slightly before spreading it on the cake.
Storage
- Store the cake in an airtight container in the fridge for up to 3 days.
- Let it sit at room temperature for 15-20 minutes before serving for the best texture.
- Freeze individual slices for up to 1 month. Thaw in the fridge overnight.


Raspberry White Chocolate Truffle Cake
Description
Indulge in layers of moist raspberry-studded cake and velvety white chocolate ganache. This dessert is as easy to make as it is impressive to serve!
Ingredients
Instructions
-
Preheat the oven to 350°F (175°C). Grease and line an 8-inch round cake pan.
-
In a bowl, whisk together flour, baking powder, and salt.
-
In another bowl, cream butter and sugar until light and fluffy. Add eggs one at a time, then mix in vanilla.
-
Alternate adding the dry ingredients and milk to the butter mixture, mixing until just combined. Fold in raspberries.
-
Pour batter into the prepared pan and bake for 25-30 minutes, or until a toothpick comes out clean. Cool completely.
-
For the ganache, heat cream until simmering, then pour over chopped white chocolate. Stir until smooth. Let cool until thickened.
-
Slice the cake into two to four even layers. Spread ganache between layers and on top. Garnish with raspberries and powdered sugar.
-
Chill for 1 hour before serving.
Nutrition Facts
Servings 8
- Amount Per Serving
- Calories 420kcal
- % Daily Value *
- Total Fat 24g37%
- Total Carbohydrate 45g15%
- Sugars 32g
- Protein 6g12%
* Percent Daily Values are based on a 2,000 calorie diet. Your daily value may be higher or lower depending on your calorie needs.
Note
- For a nut-free version, ensure your white chocolate doesn’t contain nuts.
- If ganache thickens too much, gently reheat it in the microwave for 10 seconds.
- Fresh raspberries can be swapped for frozen (thaw and drain first).
These values are approximate and may vary depending on the specific ingredients and brands used. Always check your ingredient labels for precise nutrition details.